


Custom outdoor patio throw pillows are a fantastic way to enhance your outdoor living space, add personality to your patio furniture, and create a cozy yet stylish atmosphere. Unlike indoor pillows, outdoor pillows must withstand weather conditions like sun exposure, rain, and humidity. This guide will walk you through the process of creating durable, weather-resistant, and aesthetically pleasing custom throw pillows for your patio.
1. Planning & Design Considerations
Purpose & Function:
Determine whether your pillows will be purely decorative or also provide comfort. Outdoor pillows should balance style with durability.
Patio Decor Theme:
Consider your patio’s existing decor—whether it’s modern, rustic, tropical, or coastal. Choose colors, patterns, and textures that complement your outdoor furniture and surroundings.
Size & Quantity:
Common outdoor pillow sizes include:
Standard: 18”×18” or 20”×20” (versatile for most chairs and sofas).
Larger: 22”×22” or 24”×24” (for a bold statement).
Oblong/Runner Pillows: 12”×18” or 16”×24” (great for bench seating).
Plan for 3–5 pillows to create a balanced arrangement.
2. Choosing Weather-Resistant Materials
Fabrics:
Outdoor pillows require fabrics that resist fading, mold, mildew, and water damage. Recommended options include:
Solution-Dyed Acrylic: Highly durable, fade-resistant, and easy to clean.
Polyester Blends: Affordable and water-resistant, but may not last as long as acrylic.
Olefin (Polypropylene): Mold-resistant and great for high-moisture areas.
Avoid cotton or linen, as they absorb moisture and fade quickly.
Thread:
Use UV-resistant polyester thread to prevent stitching from breaking down under sun exposure.
Fillings:
Foam Inserts: Rigid and maintain shape; choose closed-cell foam (resistant to water absorption).
Quick-Dry Polyester Fiberfill: Lightweight and dries faster than down.
Outdoor-Specific Inserts: Some brands offer pillows with built-in weather-resistant filling.
3. Measuring & Cutting Fabric
Standard Pillow (e.g., 18”×18”): Cut two fabric pieces at 19”×19” (1-inch seam allowance).
Oblong Pillow (e.g., 16”×24”): Cut pieces at 17”×25”.
Pattern Alignment: Ensure prints align correctly if using striped or themed fabrics.
Tip: Pre-wash outdoor fabrics (if washable) to prevent shrinkage later.
4. Sewing the Pillow Cover
1. Pin Fabric Pieces: Place the two fabric pieces right sides together.
2. Sew Three Sides: Stitch around three edges using a ½-inch seam allowance.
3. Add Closure:
Zipper Closure: Sew an outdoor-rated zipper along the fourth side before closing.
Envelope Closure: Fold the open edge inward twice (like an envelope) and stitch it shut for easy insert removal.
4. Close the Final Side: Leave one side open (if using envelope closure) or sew the zipper in place.
Pro Tip: Reinforce corners with backstitches or add piping for a polished look.
5. Inserting the Filling
Foam/Polyester Inserts: Slide the insert through the envelope or zipper opening.
Quick-Dry Fiberfill: Use a pillow form designed for outdoor use.
Fluff & Adjust: Shape the pillow for even loft and comfort.
6. Maintenance & Care
Cleaning: Spot-clean with mild soap and water; machine-wash if the fabric allows.
Storage: Remove inserts during winter or heavy rain to prolong lifespan.
Sun Protection: Store pillows in a shaded area or use UV-blocking covers when not in use.
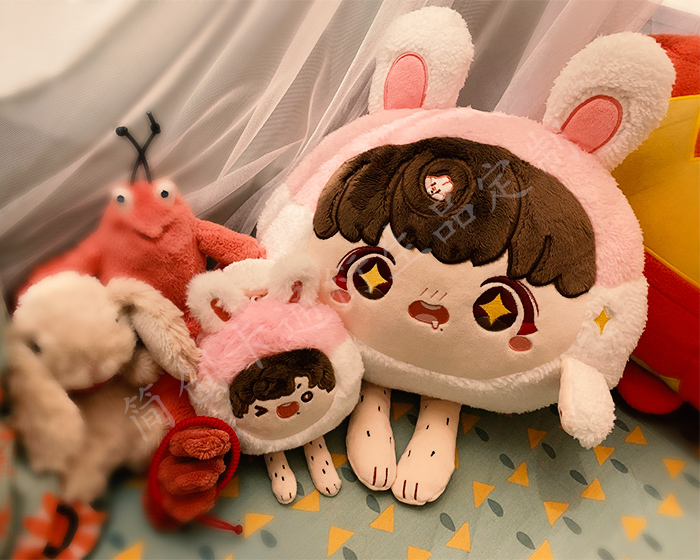
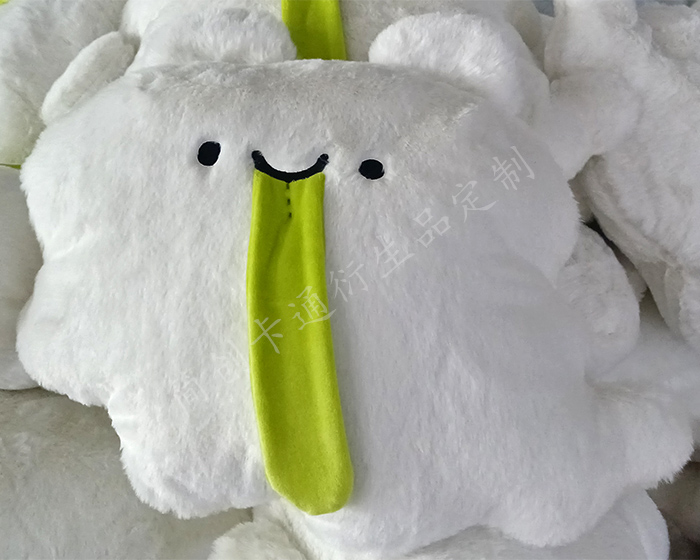
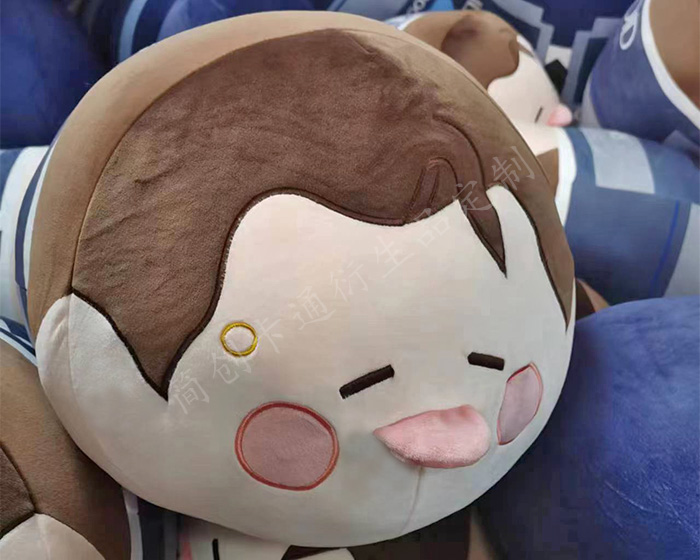
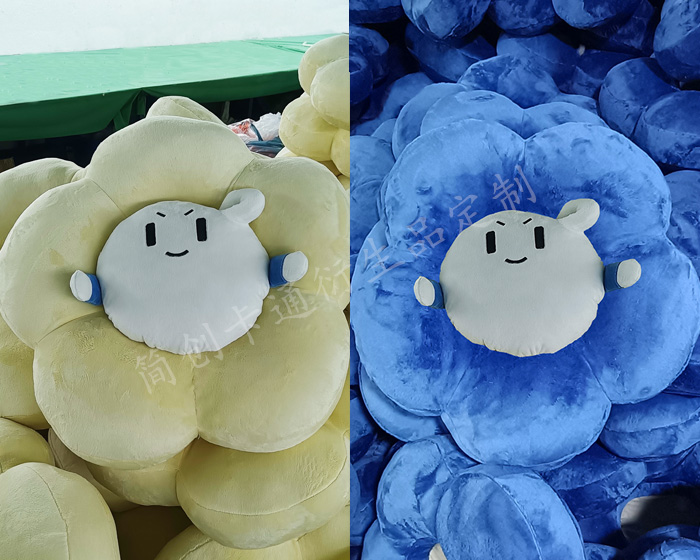
The following are some examples of plush pillows that our factory customizes for customers. Check out if there is one that you like best.


")