


Custom toss pillows are the perfect way to refresh your sofa, express your personal style, and add functional comfort to your living space. Unlike store-bought options, Custom Pillows allow you to choose exact colors, patterns, sizes, and fabrics to match your decor vision. Here’s a step-by-step guide to creating your own personalized toss pillows for your sofa.
1. Planning Your Design
Purpose & Function:
Decide if your pillows will prioritize decoration, comfort, or both. Decorative pillows may use stiffer fabrics or embellishments, while comfort-focused pillows benefit from plush materials like down or memory foam.
Sofa Compatibility:
Measure your sofa’s dimensions and assess existing pillows. Consider how many toss pillows you need—typically 3–5 for a balanced look. Popular sizes include:
Standard: 18”×18” or 20”×20” (versatile for most sofas)
Larger: 22”×22” or 24”×24” (for a bold statement)
Oblong: 16”×24” (ideal for asymmetrical arrangements)
Style Theme:
Choose a color palette that complements your sofa and room decor. Decide on patterns (floral, geometric, abstract) or solids. Mix textures (velvet + linen) or stick to a cohesive look.
2. Selecting Materials
Fabrics:
Natural Fibers: Cotton (breathable, easy to clean), linen (textured, casual).
Luxury Options: Velvet (rich, elegant), silk (shiny, formal).
Durable Picks: Polyester blends (stain-resistant), outdoor fabrics (pet/family-friendly).
Fillings:
Foam Inserts: Provide structured support; cut to size or buy pre-made.
Down/Feathers: Ultra-plush but require fluffing; use a hidden zipper for easy refills.
Polyester Fiberfill: Affordable and hypoallergenic; good for a medium-loft feel.
Additional Supplies:
Thread (matching or contrasting for a design detail).
Zippers (invisible zippers for a seamless look) or envelope closures.
Pillow inserts (or cut foam to size).
3. Measuring & Cutting Fabric
Standard Pillow (e.g., 18”×18”): Cut two fabric pieces at 19”×19” (1-inch seam allowance).
Oblong Pillow (e.g., 16”×24”): Cut pieces at 17”×25”.
Pattern Alignment: For prints, ensure designs match when sewn (e.g., flowers centered).
Tip: Iron fabric before cutting to avoid wrinkles distorting measurements.
4. Sewing the Pillow Cover
1. Pin Fabric Pieces: Place the two fabric pieces right sides together.
2. Sew Three Sides: Stitch around three edges using a ½-inch seam allowance.
3. Add Zipper (Optional):
For a zipper closure, sew it along the fourth side before closing the pillow.
For an envelope closure, fold the fabric’s open edge inward twice (like an envelope) and stitch it shut.
4. Close the Final Side: Leave one side open (or use an envelope/zipper) to insert the filling.
Pro Tip: Reinforce corners with backstitches or add piping for a polished edge.
5. Inserting the Filling
Foam/Polyester: Slide the insert through the open seam.
Down/Feathers: Use a hidden zipper to access the pillow for refilling.
Fluff & Adjust: Shape the pillow to your desired loft and symmetry.
6. Styling Your custom pillows
Arrangement Tips:
Mix sizes (e.g., 18” + 20” + 16”×24”) for visual interest.
Layer patterns with solids (e.g., stripes + florals).
Use odd numbers (3 or 5 pillows) for balanced aesthetics.
Placement: Anchor pillows against the sofa’s backrest or armrests for stability.
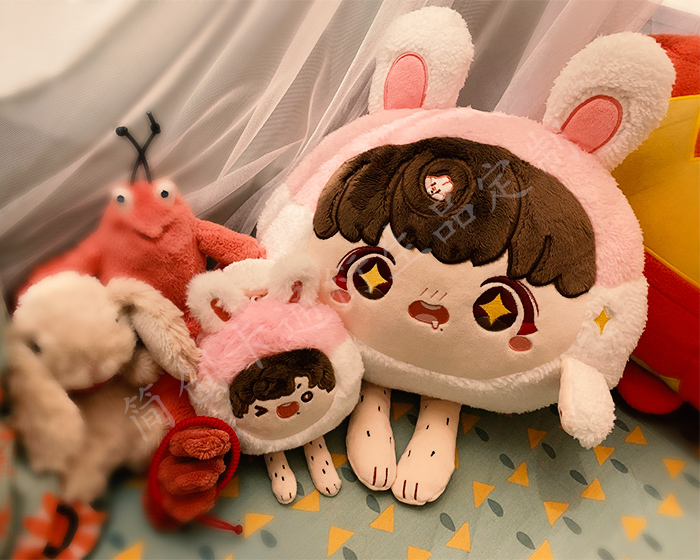
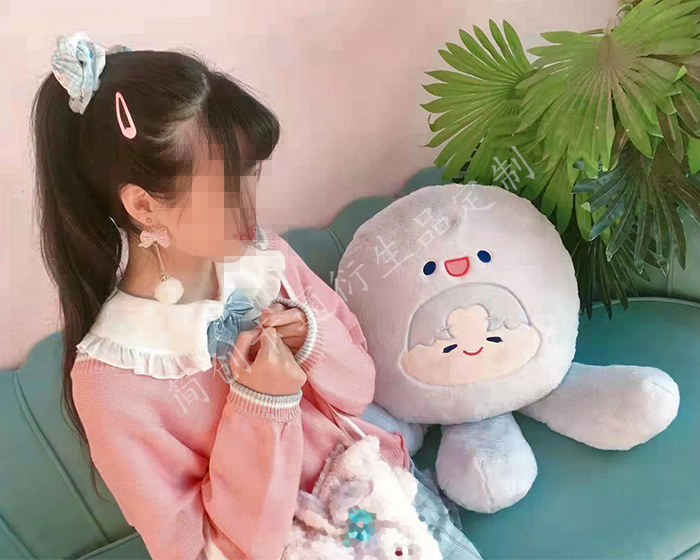
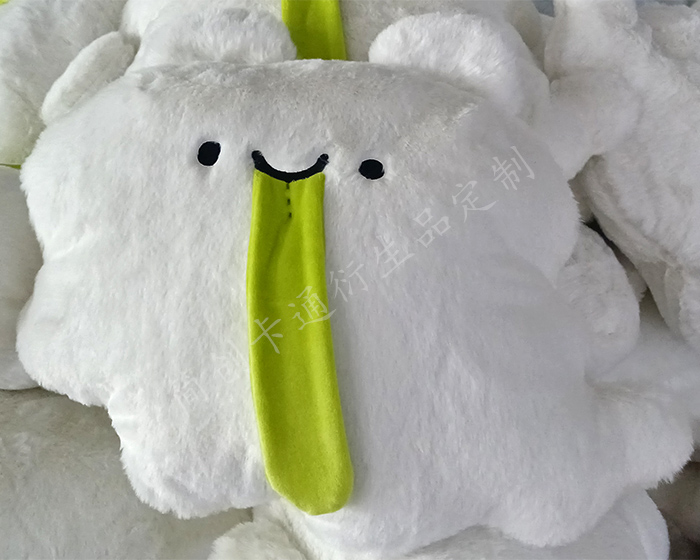
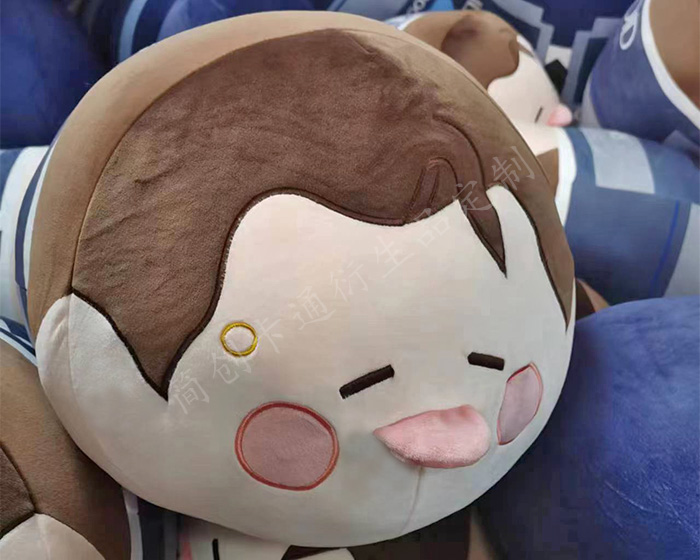
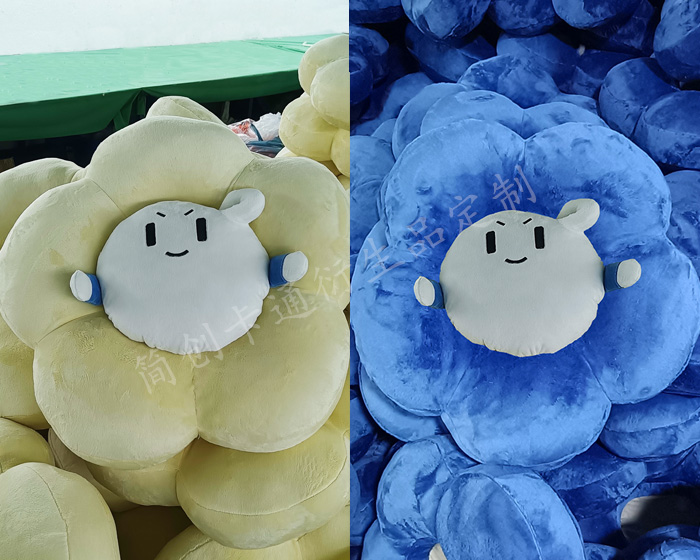
The following are some examples of plush pillows that our factory customizes for customers. Check out if there is one that you like best.

")