Sanitizing stuffed animals in the dryer can be a practical approach, but it’s essential to do so correctly to avoid damaging the toys. While the dryer can help reduce bacteria and odors, not all stuffed animals are suitable for this method. Here’s a detailed look at how to effectively sanitize Stuffed Animals using the dryer and important considerations to keep in mind.
1. Understanding Sanitization in the Dryer
The heat from the dryer can kill many germs and bacteria, making it a potentially effective method for sanitizing stuffed animals. However, this method primarily works when combined with proper cleaning beforehand. Simply placing a dirty stuffed animal in the dryer will not adequately sanitize it; it must first be washed to remove dirt and stains.
2. Check Care Labels
Before attempting to sanitize a stuffed animal in the dryer, always check the care label. Some toys are labeled as machine washable and dryer-safe, while others may require hand washing or air drying only. Ignoring these guidelines can lead to damage, such as melting plastic parts, clumping of stuffing, or distortion of shape.
3. Washing Before Drying
To effectively sanitize stuffed animals, start with a thorough wash. You can either machine wash or hand wash, depending on the toy's materials. Use a gentle detergent and follow the care instructions. Once washed, it’s crucial to rinse out all soap thoroughly to prevent residue that could attract dirt or cause irritation.
4. Using the Dryer for Sanitization
Once the stuffed animal is clean, you can proceed to the dryer. Here’s how to do it safely:
-
Use a Low Heat Setting: Set the dryer to a low or medium heat setting. High heat can damage some fabrics or stuffing materials.
-
Use a Pillowcase: Place the stuffed animal inside a pillowcase or laundry bag. This helps protect it from direct contact with the dryer drum, reducing the risk of wear and tear.
-
Add Dryer Balls or Tennis Balls: Including a couple of dryer balls or clean tennis balls can help fluff the toy and prevent the stuffing from clumping together during the drying process.
5. Timing and Monitoring
Run the dryer for a short cycle initially, around 10-15 minutes. This duration is often sufficient to eliminate most bacteria without causing damage. Check the stuffed animal after the first cycle to see if it’s dry and fluffed. If needed, you can run additional cycles, checking each time to ensure it’s not overheating or getting damaged.
6. Post-Drying Care
After removing the stuffed animal from the dryer, check for any signs of wear or damage. Give it a good shake to redistribute the stuffing and restore its shape. Allow the toy to air out for a few minutes before giving it back to children or pets to ensure any remaining heat dissipates.
7. Alternative Sanitization Methods
If the stuffed animal is not dryer-safe, consider alternative sanitization methods. Spot cleaning with a disinfectant solution or using fabric-safe sanitizing sprays can help. Additionally, freezing the stuffed animal in a plastic bag for 24 hours can kill dust mites and other allergens without risking damage.
Conclusion
In summary, while you can sanitize stuffed animals in the dryer, it’s essential to do so correctly by washing them first, following care label instructions, and using low heat settings. This method can effectively reduce bacteria and odors while maintaining the toy’s integrity. For non-dryer-safe items, explore other sanitization techniques to ensure your cherished toys remain clean and safe for use.
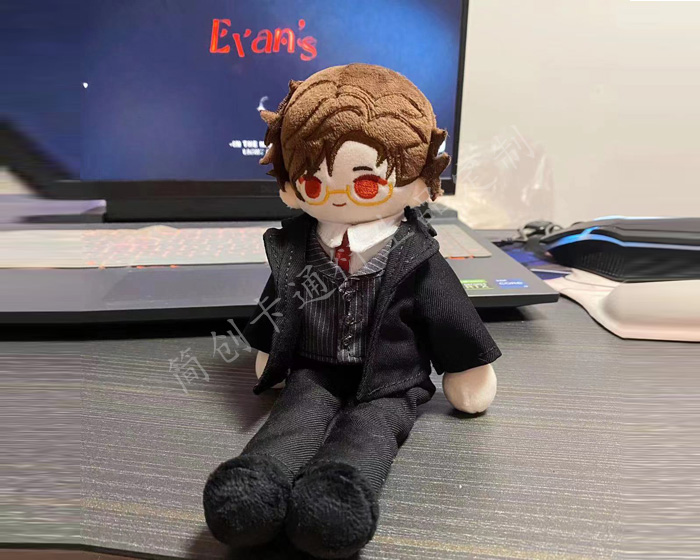
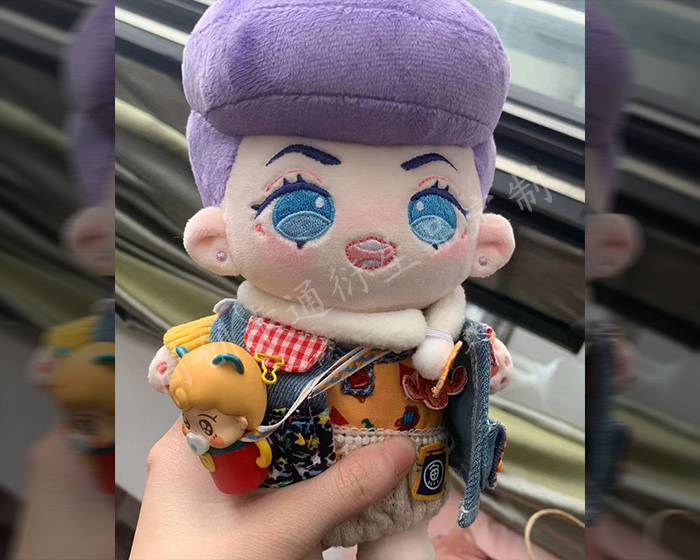
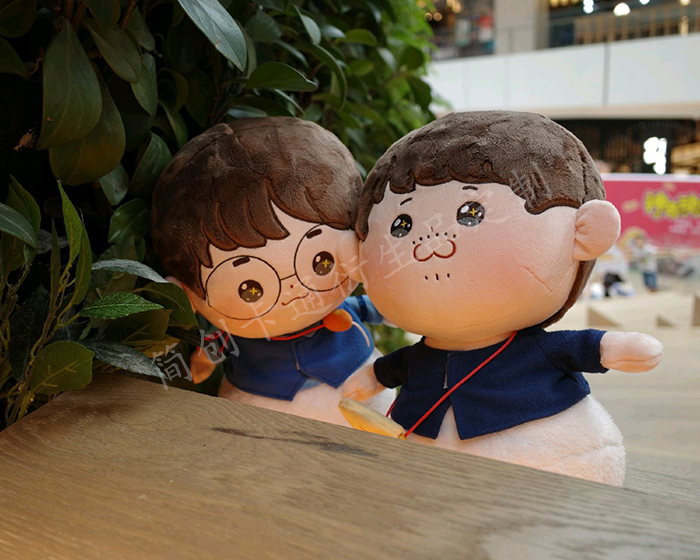
The following are some examples of plush toys that our factory customizes for customers. Check out if there is one that you like best.
-
Custom Animal Plush
-
Cute Plush Doll
-
Custom Stuffed Animals
-
Plush Toy
-
Plush Dolls
-
Custom Stuffed Dolls
-
Custom Plush Toy
-
Cotton Dolls
-
Weighted Plush Toys
-
Cute Stuffed Animals
-
Custom Pet Stuffed Animal
-
Warmies Stuffed Animals
-
Weighted Stuffed Animal
-
Soft Toys
-
Plush Stuffed Doll
-
Custom Stuffed Dolls
-
Plush Maker
-
Bear Stuffed Toy
-
Anime Plush
-
Custom Stuffed Animal
-
Anime Plush
-
Custom Plush Toy
-
Personalised Stuffed Animal
-
Plush Animal Toys
-
Custom Plush Makers
-
Custom Plushies
-
Toy Manufacturer
-
Rag Doll Making
-
Custom Toys
-
Dog Plush Toys
-
Custom Rag Doll
-
Stuffed Animals
-
Custom Plush
-
Custom Plush Dolls
-
20cm Cotton Doll
-
Jojo Plush
-
Custom Doll
-
Jojo Doll
-
Large Plush Toys
-
15cm Cotton Doll
-
Dumpling Plush
-
Cotton Doll


