


stuffed animals often hold a special place in our hearts, serving as comforting companions throughout childhood and beyond. However, over time, these beloved toys can become worn out, losing their softness, shape, and overall appeal. If you have a cherished stuffed animal that’s showing signs of wear and tear, here’s a comprehensive guide on how to fix it and restore its former glory.
1. Assess the Damage
Before starting repairs, carefully examine your stuffed animal to identify specific issues. Look for:
-
Worn Areas: Check for thinning fabric or bald spots where the stuffing may be visible.
-
Loose Seams: Look for any seams that have come undone or areas where stuffing is leaking out.
-
Discoloration: Note any stains or areas that have faded over time.
Documenting these issues will help you prioritize which repairs are most urgent.
2. Gather Your Supplies
To fix a worn-out stuffed animal, you’ll need some basic supplies:
-
Needle and thread (matching the color of the fabric)
-
Scissors
-
Stuffing material (polyester fiberfill or cotton)
-
Fabric glue (for minor repairs)
-
A soft brush (for cleaning)
Having these items on hand will make the repair process smoother and more efficient.
3. Clean the Stuffed Animal
Before making any repairs, give the stuffed animal a thorough cleaning. If it’s machine washable, follow the care instructions. If not, use a damp cloth and mild detergent to spot clean. For heavily soiled areas, consider hand washing or spot cleaning with a gentle approach. Ensure the toy is completely dry before proceeding with repairs.
4. Repairing Worn Areas
For worn areas or bald spots, you can use the following techniques:
-
Sewing: If the fabric is thin but intact, consider sewing patches over the worn areas. Use a needle and thread to carefully stitch a small piece of fabric over the damaged spot. This not only reinforces the area but can also add a decorative touch.
-
Fabric Glue: For minor tears or frayed edges, fabric glue can be a quick solution. Apply a small amount of glue along the edges of the tear and press them together, allowing it to dry completely.
5. Re-stuffing
If your stuffed animal has lost its shape or has become flat, it’s time to add new stuffing:
-
Opening the Seam: Use a seam ripper or scissors to carefully open a seam on the back or bottom of the stuffed animal. Be cautious not to damage the fabric.
-
Adding Stuffing: Gently pull apart the old stuffing, discarding any clumps that have lost their shape. Add new stuffing material gradually, ensuring it’s evenly distributed to maintain the toy’s shape.
-
Sewing It Back Up: Once you’ve added the desired amount of stuffing, carefully sew the seam back together using a needle and thread, making sure to secure it tightly.
6. Fluffing and Finishing Touches
After repairing and re-stuffing, give the stuffed animal a good fluffing. Gently shake it to redistribute the stuffing and restore its original shape. For plush fabrics, you can use a soft brush to revive the texture and remove any debris.
7. Regular Maintenance
To keep your stuffed animal looking its best, establish a routine for maintenance. Regularly vacuum or spot clean to remove dust, and avoid exposing the toy to excessive moisture or sunlight to prevent fading.
Conclusion
Fixing a worn-out stuffed animal requires a bit of patience and care, but the results can be incredibly rewarding. By assessing the damage, gathering the right supplies, and using effective repair techniques, you can breathe new life into a cherished toy. Not only will your stuffed animal look better, but the process of repairing it can deepen the emotional connection you have with this beloved companion. With a little love and attention, your stuffed animal can continue to bring comfort and joy for years to come.
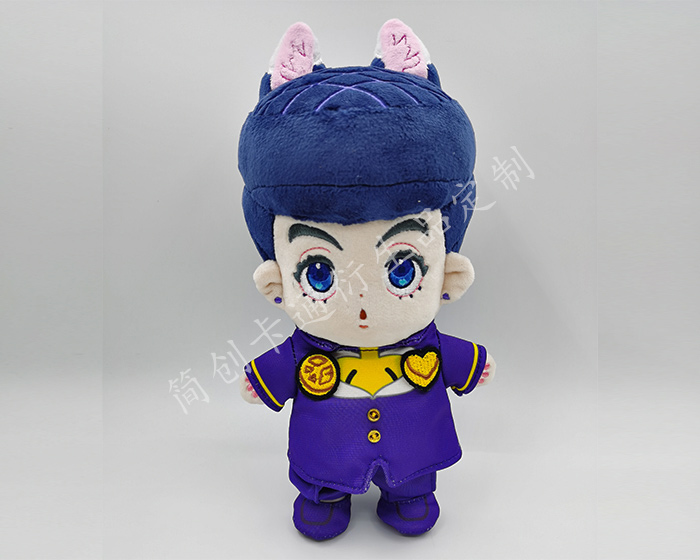
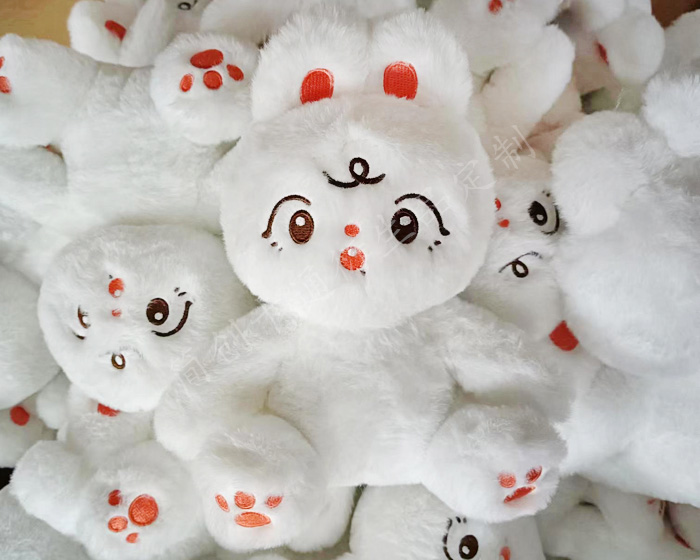
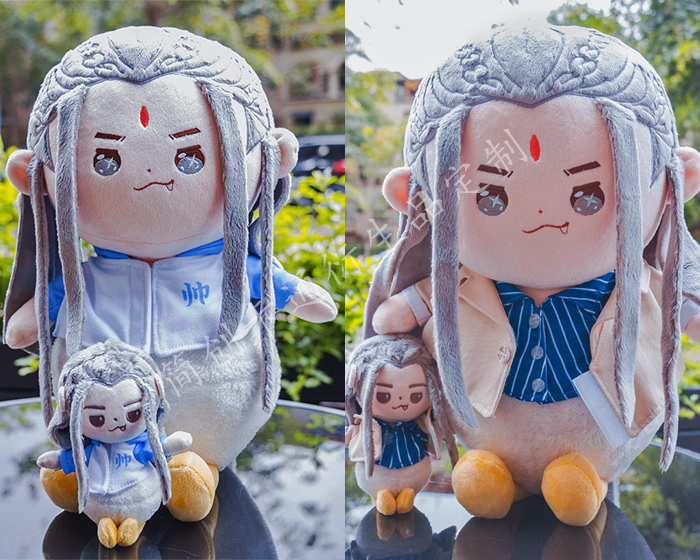
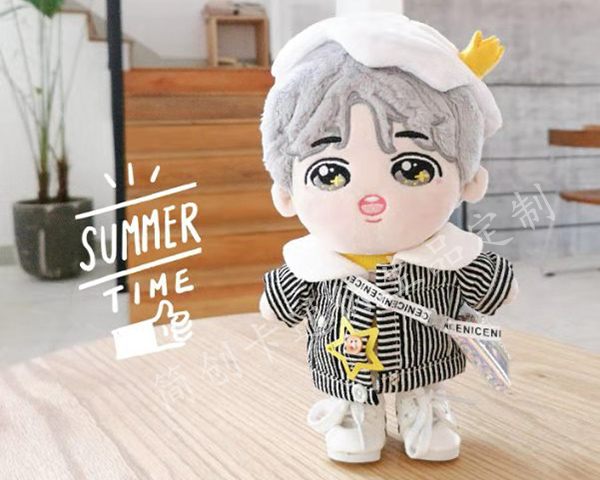
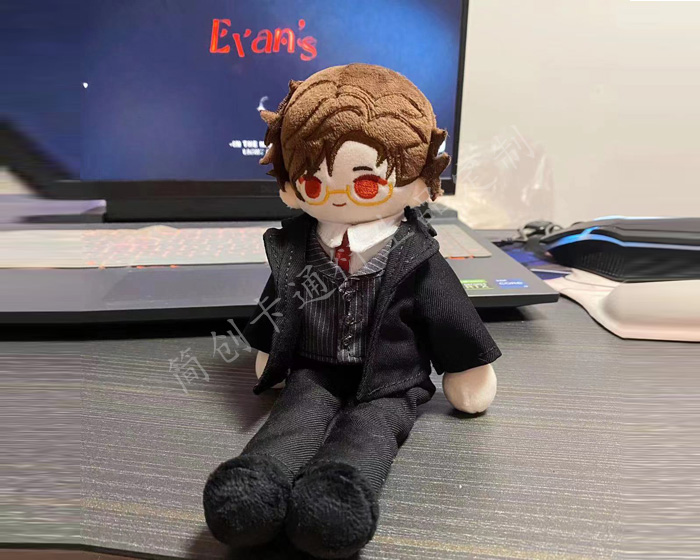
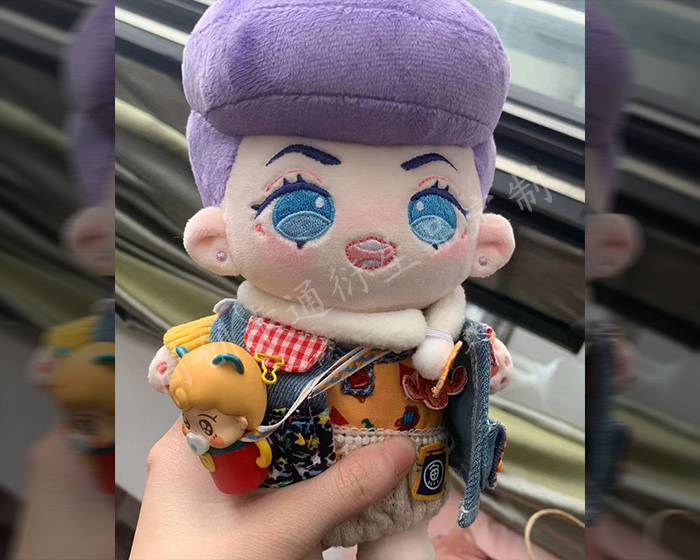
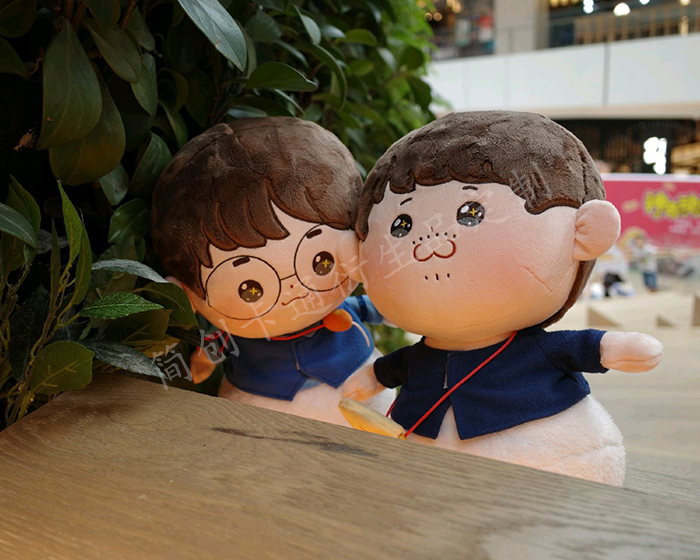
The following are some examples of plush toys that our factory customizes for customers. Check out if there is one that you like best.
-
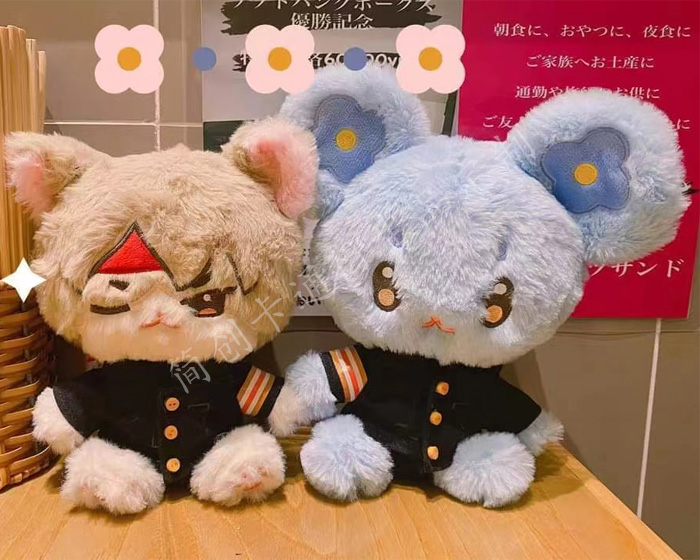
Custom Animal Plush
-
Cute Plush Doll
-
Custom Stuffed Animals
-
Plush Toy
-
Plush Dolls
-
Custom Stuffed Dolls
-
Custom Plush Toy
-
Cotton Dolls
-

Weighted Plush Toys
-
Cute Stuffed Animals
-
Custom Pet Stuffed Animal
-
Warmies Stuffed Animals
-
Weighted Stuffed Animal
-
Soft Toys
-
Plush Stuffed Doll
-
Custom Stuffed Dolls
-
Plush Maker
-
Bear Stuffed Toy
-
Anime Plush
-
Custom Stuffed Animal
-
Anime Plush
-
Custom Plush Toy
-
Personalised Stuffed Animal
-
Plush Animal Toys
-
Custom Plush Makers
-
Custom Plushies
-
Toy Manufacturer
-
Rag Doll Making
-
Custom Toys
-
Dog Plush Toys
-
Custom Rag Doll
-
Stuffed Animals
-
Custom Plush
-
Custom Plush Dolls
-
20cm Cotton Doll
-
Jojo Plush
-
Custom Doll
-
Jojo Doll
-
Large Plush Toys
-
15cm Cotton Doll
-
Dumpling Plush
-
Cotton Doll
")