


DIY plush toy making and customization is a creative and rewarding activity that allows individuals to design and craft their own unique plush toys. Here's some information on how to get started with DIY plush toy making and customization:
-
Materials and Tools:
Gather the necessary materials such as fabric (plush, felt, or other suitable materials), stuffing (polyester fiberfill or other stuffing materials), sewing needles, thread, scissors, pins, and any additional embellishments you'd like to add to your plush toy (buttons, ribbons, embroidery thread, etc.). -
Design and Pattern:
Start by sketching or designing the plush toy you want to create. Decide on its shape, size, and features. Then, create a pattern for your plush toy by drawing the different pieces needed to construct it (body, limbs, ears, etc.). Make sure to add seam allowances to the pattern pieces. -
Fabric Selection and Cutting: Choose the fabric(s) for your plush toy and lay them out flat. Pin the pattern pieces onto the fabric and carefully cut them out, ensuring precision and accuracy.
-
Sewing:
With the fabric pieces cut out, begin sewing them together. Use a sewing machine or hand sew, following the pattern and leaving appropriate openings for stuffing. Take your time to sew along the edges, making sure the stitches are secure. -
Stuffing:
Once the main body of the plush toy is sewn together, turn it right side out. Start stuffing the toy with the chosen stuffing material, making sure to distribute it evenly and achieve the desired level of plushness. Use a tool or your fingers to reach into smaller parts and ensure they are fully stuffed. -
Finishing Touches:
Close the openings with a hidden stitch or ladder stitch, ensuring that the stuffing is securely contained. Add any additional embellishments, such as eyes, nose, mouth, or decorative elements, using sewing, embroidery, or glue. -
Customization and Personalization:
Get creative with customizing your plush toy. Use fabric markers, embroidery thread, or fabric paints to add unique designs, patterns, or personal touches to your creation. This is an opportunity to make your plush toy truly one-of-a-kind. -
Care and Maintenance:
Once your DIY plush toy is complete, remember to care for it properly. Spot clean or hand wash the toy as needed, following the care instructions for the fabric used. Regularly inspect and repair any loose stitches or worn areas to ensure the longevity of your creation.
DIY plush toy making and customization is a wonderful way to express your creativity, showcase your unique style, and create personalized gifts or keepsakes. It allows you to bring your own designs to life and make plush toys that are special and meaningful to you or your loved ones.
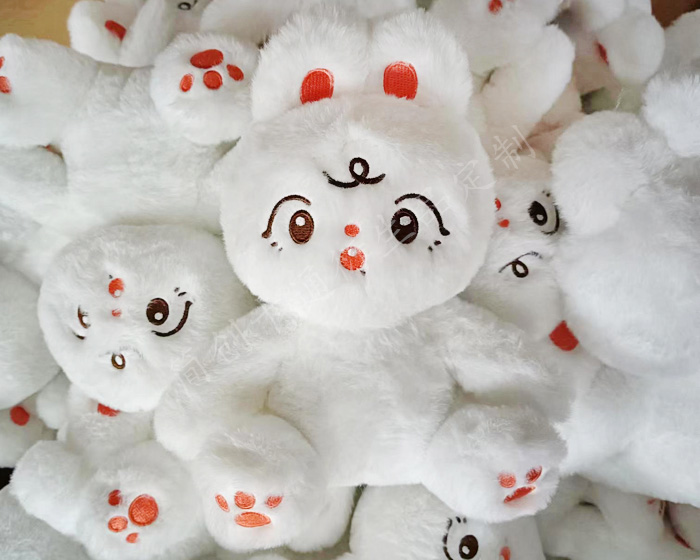
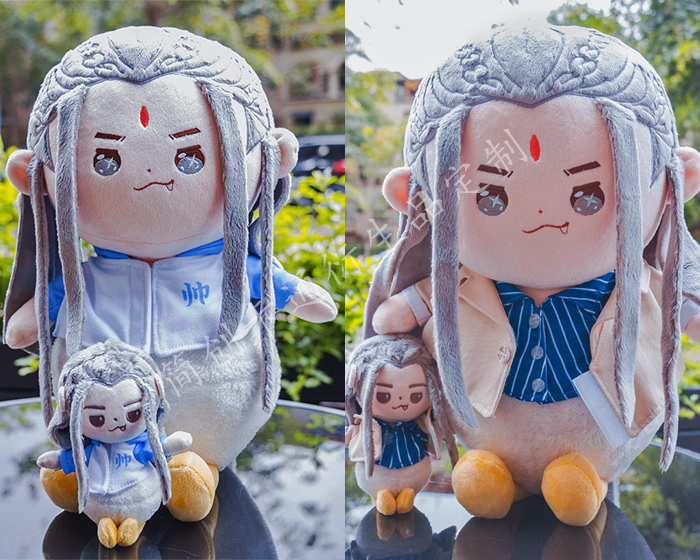
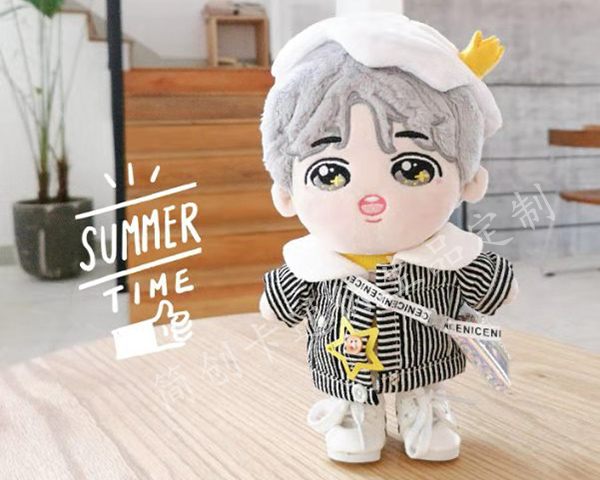
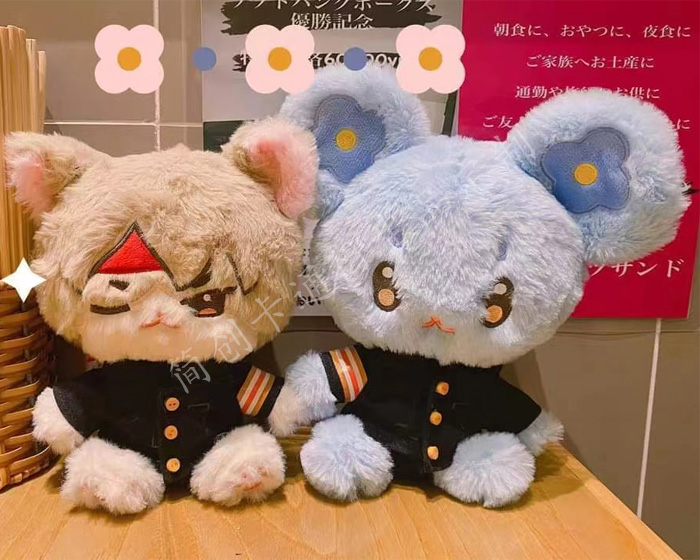
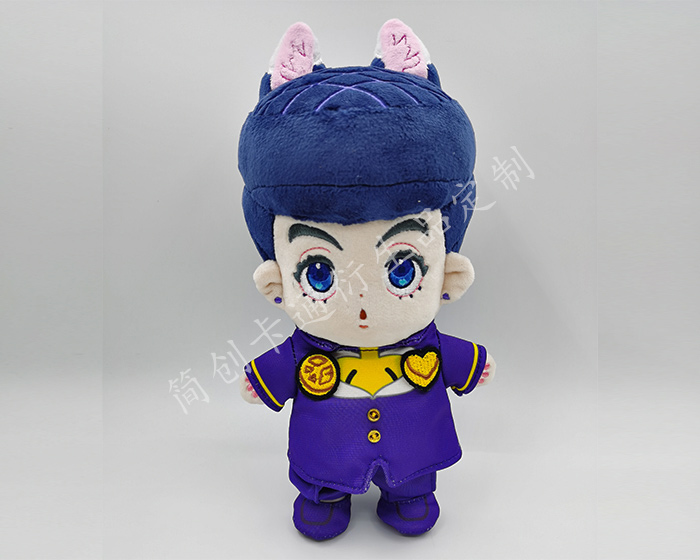
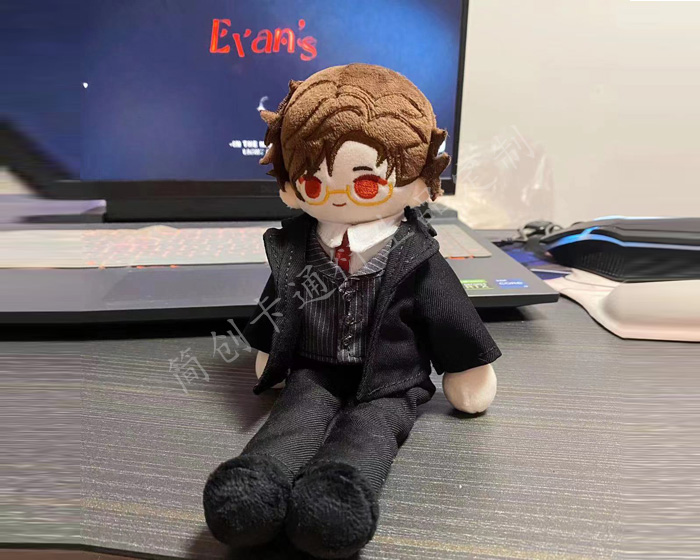
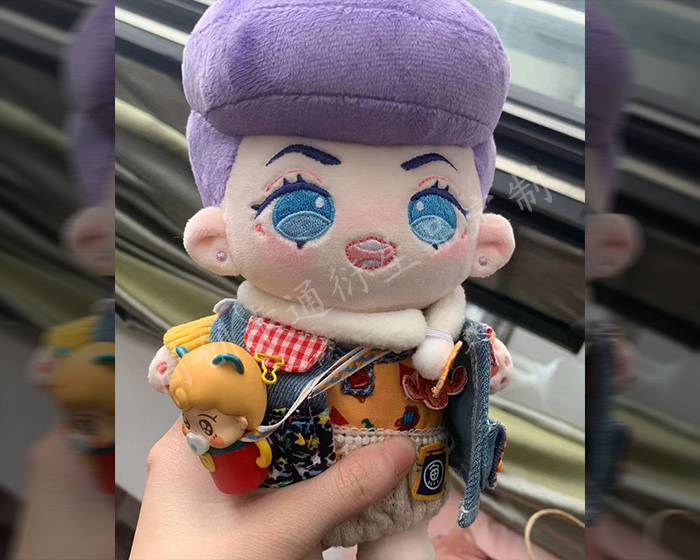
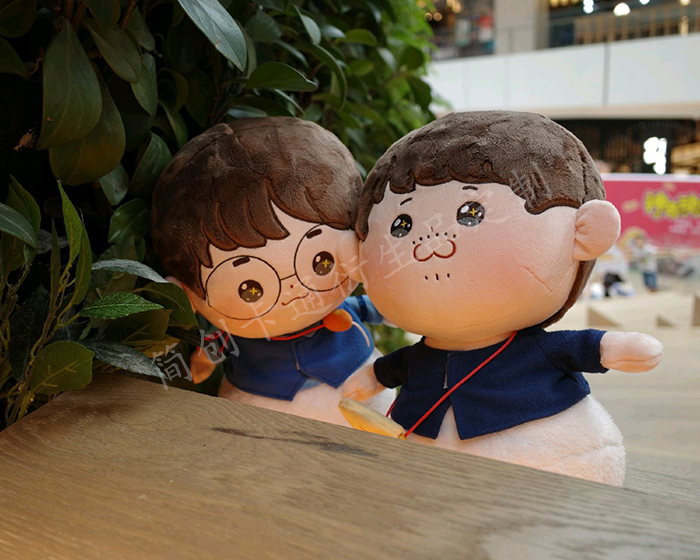
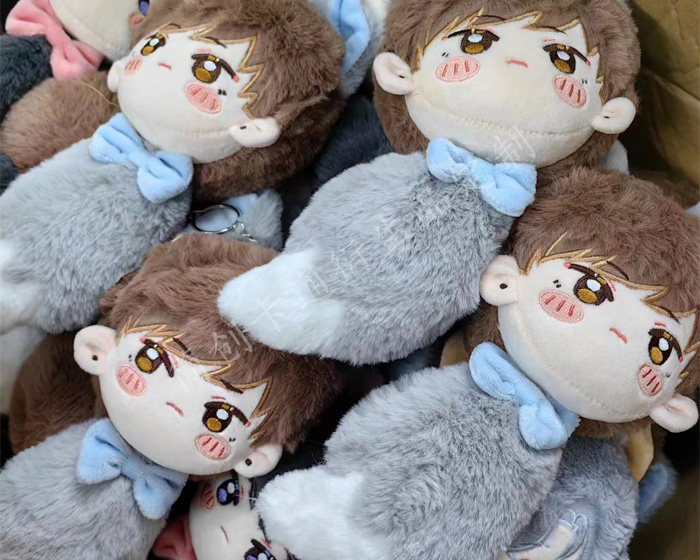
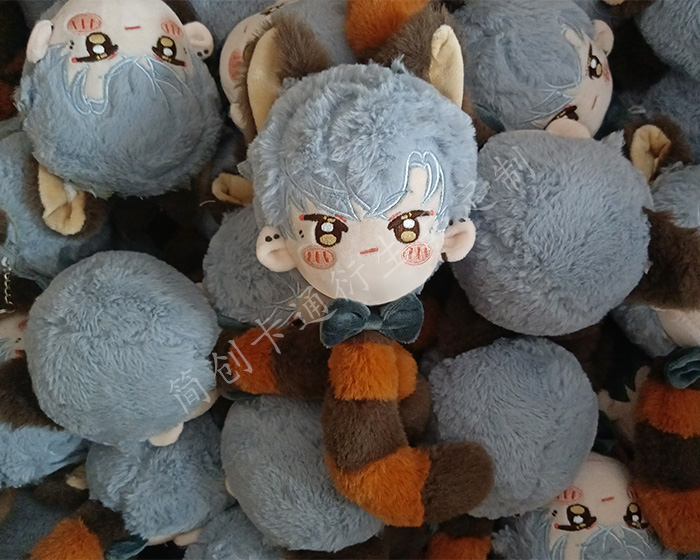
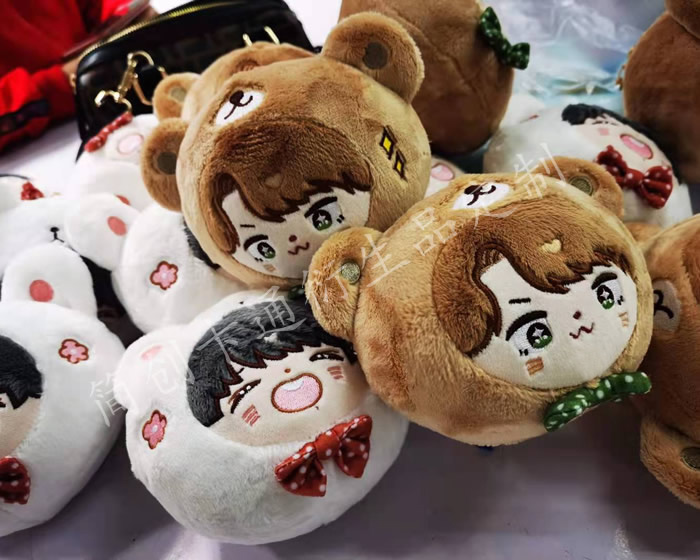
The following are some examples of plush toys that our factory customizes for customers. Check out if there is one that you like best.
-
Custom Stuffed Animals
-
Plush Toy
-
Plush Dolls
-
Custom Animal Plush
-
Cute Plush Doll
-
Custom Stuffed Dolls
-
Custom Plush Toy
-
Cotton Dolls
-

Weighted Plush Toys
-
Cute Stuffed Animals
-
Custom Pet Stuffed Animal
-
Warmies Stuffed Animals
-
Weighted Stuffed Animal
-
Soft Toys
-
Plush Stuffed Doll
-
Custom Stuffed Dolls
-
Plush Maker
-
Bear Stuffed Toy
-
Anime Plush
-
Custom Stuffed Animal
-
Anime Plush
-
Custom Plush Toy
-
Personalised Stuffed Animal
-
Plush Animal Toys
-
Custom Plush Makers
-
Custom Plushies
-
Toy Manufacturer
-
Rag Doll Making
-
Custom Toys
-
Dog Plush Toys
-
Custom Rag Doll
-
Stuffed Animals
-
Custom Plush
-
Custom Plush Dolls
-
20cm Cotton Doll
-
Jojo Plush
-
Custom Doll
-
Jojo Doll
-
Large Plush Toys
-
15cm Cotton Doll
-
Dumpling Plush
-
Cotton Doll
Custom Plush Project Showcase
Rag Doll Custom Plush Makers
Best Toy Manufacturer
-
Custom Plush Doll Manufacturer
Custom Cotton Doll Factory

Custom Stuffed Animals Factory
-
Custom Rag Doll Manufacturers
-
Custom Soft Toys Manufacturer
-
Jojo Rag Doll Making Manufacturers
-
6cm Custom Plush Pendant Manufacturer
-
Custom Personalised Stuffed Animal Manufacturers
-
Custom Stuffed Dolls Manufacturers
-
Custom Dumpling Plush Factory
-
Custom Plush Pendant Factory
-
20cm Cotton Doll Anime In China
-
Custom Pet Stuffed Animal Manufacturer
-
Custom Bear Stuffed Toy Manufacturer
-
Custom Animal Plush Manufacturer
-
Custom Cute Stuffed Animals Manufacturer
-
Custom 40cm80cm Large Plush Animals Factory
-
Custom Plush Stuffed Doll Manufacturer
-
Custom Weighted Stuffed Animal Manufacturers
-
Custom Plush Toy Factory
-
5cm Plush Toy Pen Cover Custom Factory
-
Custom Plush Toy Manufacturers
-
Custom Dolls Manufacturer
-
Custom Plush Fleece Earmuffs Manufacturer
-
Custom Stuffed Animals Manufacturers
-
Custom Anime Plush Manufacturer
-
Custom Hand Puppet Manufacturer
-
Jujutsu Kaisen Custom Doll Factory
-
Custom Stuffed Dolls Manufacturer
-
Custom Plush Toy Manufacturers
-
Custom Warmies Stuffed Animals Manufacturer
-
15cm20cm40cm Custom Cotton Dolls Manufacturer
-
Custom Plushies Manufacturers
-
Custom Plush Toy Manufacturer
-
15cm20cm Jojo Doll Custom Factory
-
Custom Personalized Stuffed Animals Factory
-
Custom Plush Dolls Pendant Manufacturer
-
Custom Plush Stuffed Doll Factory
-
Custom Plushie Makers Manufacturer
-
Weighted Stuffed Animal Factory
-
Custom Super Jojo Plush Manufacturers
-
Custom Stuffed Animal Manufacturer
-
Custom Plush Animal Toys Manufacturers
-
Custom Maltese Dog Plush Toys Manufacturers
-
Custom Weighted Plush Toys Manufacturer
-
Custom Anime Plush Manufacturer
-
Custom 15cm Cotton Doll Factory
-
Custom Stuffed Animal Manufacturers
-
Custom Plush Maker Manufacturer
-
Custom Toys Manufacturers
-
Custom Cute Plush Doll Factory


")