


Designing a plush toy requires a combination of creativity, attention to detail, and practical considerations. Here are some steps to help you design a plush toy:
-
Conceptualize Your Design:
Start by brainstorming and visualizing the plush toy you want to create. Consider the overall shape, size, and features of the toy. Think about its character, personality, and any unique elements you want to incorporate. -
Sketch Your Design:
Transfer your ideas onto paper by sketching the design of your plush toy. Use simple shapes and lines to outline its form, paying attention to proportions and details. This sketch will serve as a visual reference as you move forward with the design process. -
Choose Materials:
Select the appropriate materials for your plush toy. Consider the type of fabric (such as plush, fleece, or felt) that will best suit your design and its intended purpose. Research and choose high-quality materials that are safe, durable, and suitable for sewing. -
Create a Pattern:
Transform your sketch into a pattern that can be used to cut out the fabric pieces for your plush toy. Break down the design into smaller components (such as body, limbs, ears, etc.) and draw pattern pieces with seam allowances. Ensure that the pattern pieces fit together properly to create the desired shape. -
Test and Adjust:
Before cutting your final fabric pieces, it's helpful to create a prototype using inexpensive or scrap materials. This allows you to test the pattern and make any necessary adjustments to achieve the desired look and functionality. Take note of any modifications needed for the final version. -
Cut and Sew:
Once you are satisfied with the pattern, use it to cut out the fabric pieces. Pin the pieces together according to your design and sew them using a sewing machine or hand stitching. Pay attention to details like facial features, limbs, and any additional embellishments you want to add. -
Stuffing and Closure:
Leave appropriate openings in your design for stuffing the plush toy. Use polyester fiberfill or other suitable stuffing material to achieve the desired level of softness and shape. After stuffing, carefully close the openings using hand stitching or a hidden stitch to secure the filling inside. -
Finishing Touches:
Add any final details or embellishments to complete the look of your plush toy. This can include features like eyes, nose, mouth, embroidery, or decorative elements. Consider using safety eyes or embroidered features for child-friendly designs. -
Quality Assurance:
Inspect your plush toy for any loose threads, weak seams, or other potential issues. Reinforce seams if necessary, ensuring that the toy is securely assembled and free from any potential hazards. -
Personalization and Branding:
Consider adding a personalized touch to your plush toy by including tags, labels, or other branding elements. This can help identify your design as a unique creation and make it more memorable.
Remember to exercise creativity, patience, and attention to detail throughout the design process. Experiment, have fun, and don't be afraid to iterate and refine your design until you achieve the desired result.
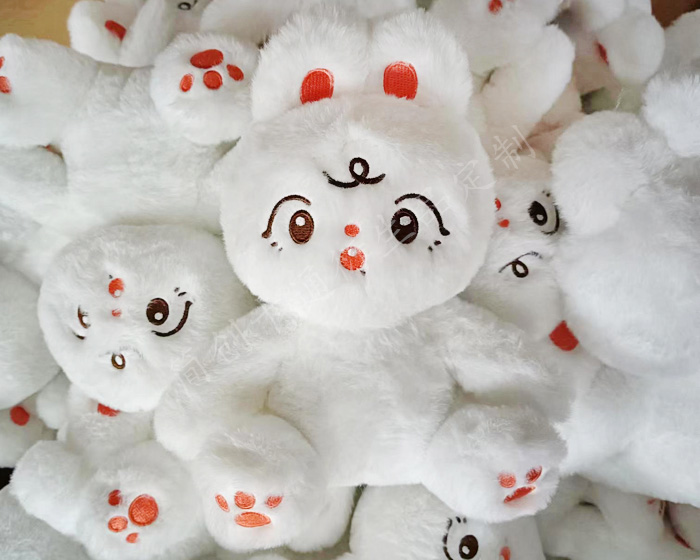
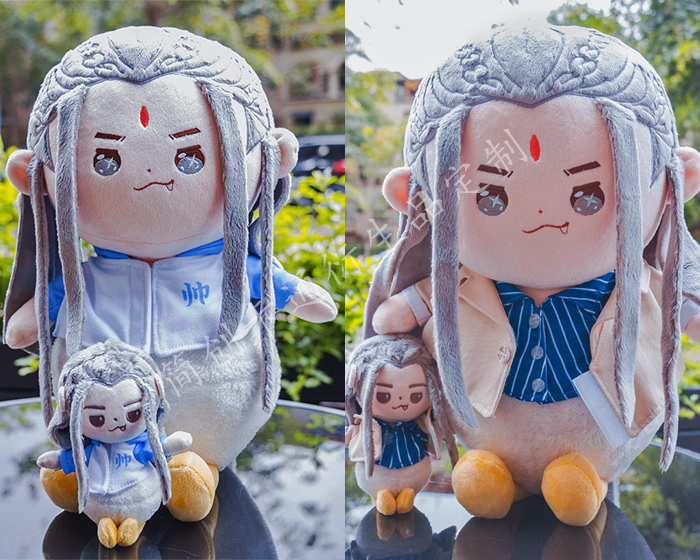
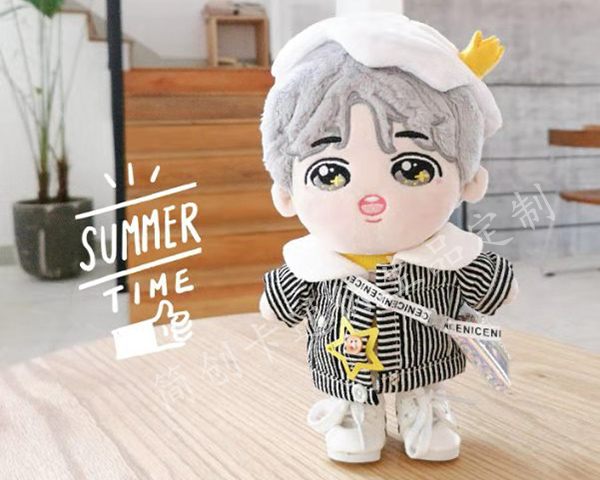
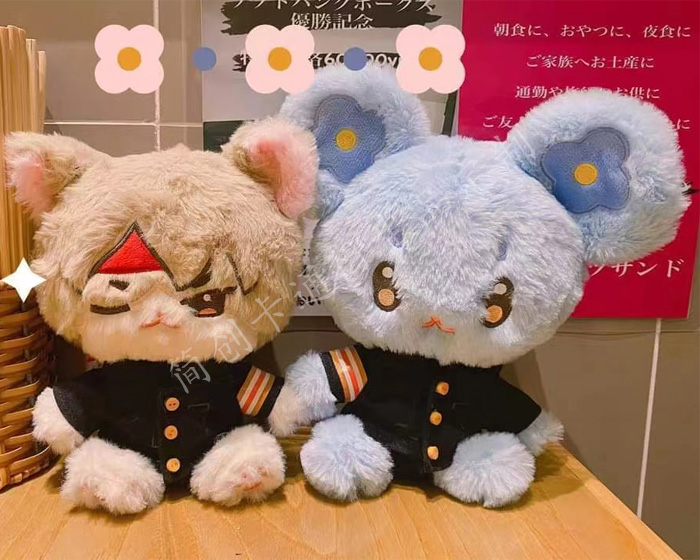
The following are some examples of plush toys that our factory customizes for customers. Check out if there is one that you like best.
-
Custom Stuffed Animals
-
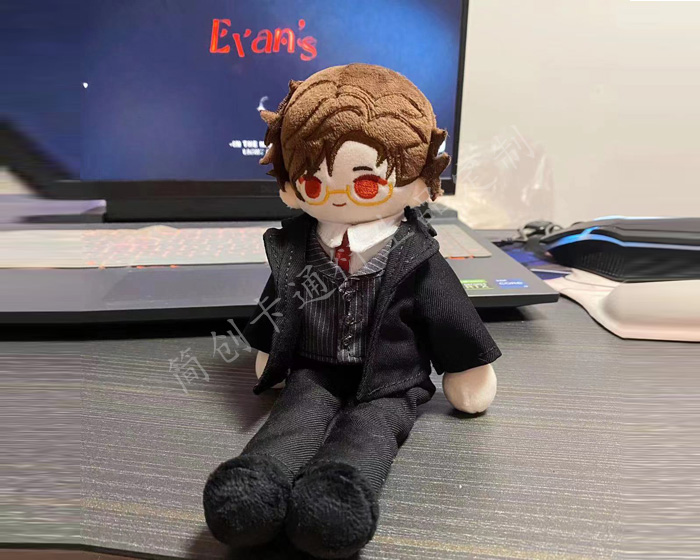
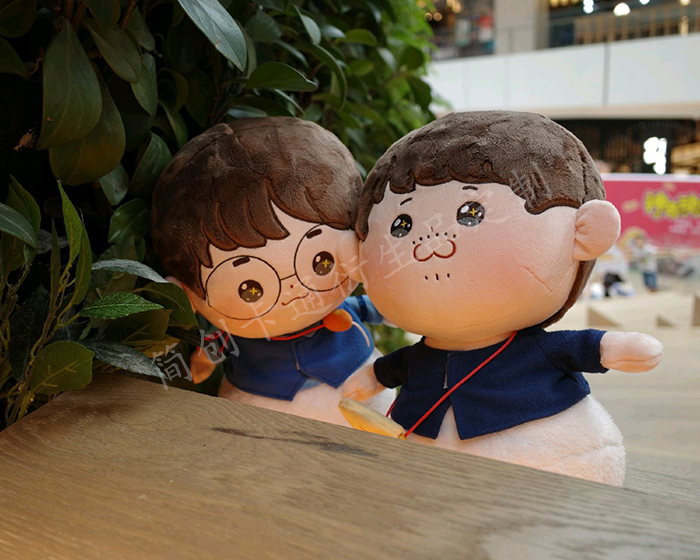
Plush Toy
-
Plush Dolls
-
Custom Animal Plush
-
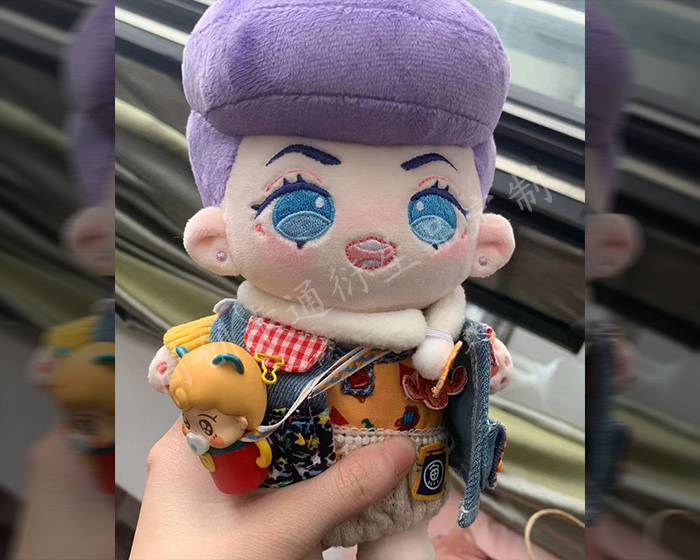
Cute Plush Doll
-
Custom Stuffed Dolls
-
Custom Plush Toy
-
Cotton Dolls
-

Weighted Plush Toys
-
Cute Stuffed Animals
-
Custom Pet Stuffed Animal
-
Warmies Stuffed Animals
-
Weighted Stuffed Animal
-
Soft Toys
-
Plush Stuffed Doll
-
Custom Stuffed Dolls
-
Plush Maker
-
Bear Stuffed Toy
-
Anime Plush
-
Custom Stuffed Animal
-
Anime Plush
-
Custom Plush Toy
-
Personalised Stuffed Animal
-
Plush Animal Toys
-
Custom Plush Makers
-
Custom Plushies
-
Toy Manufacturer
-
Rag Doll Making
-
Custom Toys
-
Dog Plush Toys
-
Custom Rag Doll
-
Stuffed Animals
-
Custom Plush
-
Custom Plush Dolls
-
20cm Cotton Doll
-
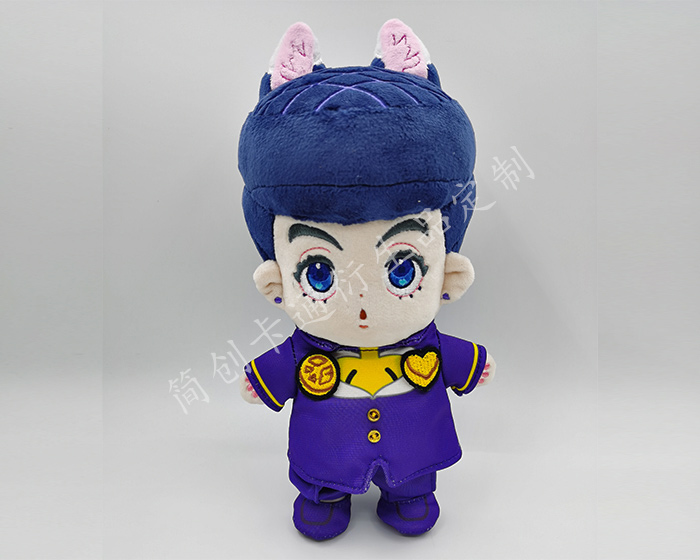
Jojo Plush
-
Custom Doll
-
Jojo Doll
-
Large Plush Toys
-
15cm Cotton Doll
-
Dumpling Plush
-
Cotton Doll
Custom Plush Project Showcase
-
15cm20cm40cm Custom Cotton Dolls Manufacturer
Custom Plush Pendant Factory
Custom Personalised Stuffed Animal Manufacturers
Custom Plush Toy Manufacturers

Custom Plush Stuffed Doll Manufacturer
-
Custom Plush Animal Toys Manufacturers
-
Custom Dumpling Plush Factory
-
20cm Cotton Doll Anime In China
-
Custom Animal Plush Manufacturer
-
Custom Maltese Dog Plush Toys Manufacturers
-
Rag Doll Custom Plush Makers
-
Custom Warmies Stuffed Animals Manufacturer
-
Custom Plush Maker Manufacturer
-
Custom Hand Puppet Manufacturer
-
Custom Anime Plush Manufacturer
-
Custom Dolls Manufacturer
-
Custom Cute Plush Doll Factory
-
Custom Plushies Manufacturers
-
Custom Plush Toy Manufacturer
-
Custom Stuffed Animals Factory
-
Custom Plush Dolls Pendant Manufacturer
-
Jujutsu Kaisen Custom Doll Factory
-
Custom 15cm Cotton Doll Factory
-
Custom Plush Fleece Earmuffs Manufacturer
-
Custom Stuffed Animals Manufacturers
-
Custom Plush Toy Manufacturers
-
Custom Stuffed Dolls Manufacturers
-
Custom Plush Doll Manufacturer
-
Custom Anime Plush Manufacturer
-
Custom Pet Stuffed Animal Manufacturer
-
Custom Toys Manufacturers
-
Custom Rag Doll Manufacturers
-
Weighted Stuffed Animal Factory
-
Custom Plush Stuffed Doll Factory
-
Custom Weighted Stuffed Animal Manufacturers
-
5cm Plush Toy Pen Cover Custom Factory
-
Custom Stuffed Animal Manufacturers
-
Best Toy Manufacturer
-
Custom Cute Stuffed Animals Manufacturer
-
Custom Bear Stuffed Toy Manufacturer
-
Custom Soft Toys Manufacturer
-
Jojo Rag Doll Making Manufacturers
-
Custom Cotton Doll Factory
-
Custom Plush Toy Factory
-
Custom Stuffed Animal Manufacturer
-
Custom 40cm80cm Large Plush Animals Factory
-
Custom Super Jojo Plush Manufacturers
-
Custom Personalized Stuffed Animals Factory
-
6cm Custom Plush Pendant Manufacturer
-
Custom Stuffed Dolls Manufacturer
-
Custom Plushie Makers Manufacturer
-
15cm20cm Jojo Doll Custom Factory
-
Custom Weighted Plush Toys Manufacturer


")