


Making a plush doll is a delightful and creative process that allows you to craft a soft, cuddly figure with a personal touch. Whether you’re designing a simple doll for a child or creating a detailed character, the steps are straightforward and fun. Here’s a step-by-step guide to making a plush doll.
1. Plan Your Design
Start by deciding the appearance of your plush doll. Think about its size, shape, and features—such as hair, eyes, clothing, or accessories. Sketch your design or find inspiration online. Keep in mind the complexity of the design, especially if you’re a beginner.
2. Gather Your Materials
You’ll need the following supplies:
-
Fabric: Soft materials like fleece, felt, or cotton work best for plush dolls. Use different fabrics for clothes or hair.
-
Stuffing: Polyester fiberfill is commonly used for a soft, fluffy feel. Eco-friendly options include cotton or recycled materials.
-
Thread and Needle: Choose thread that matches your fabric. A sewing machine can make the process faster but isn’t necessary.
-
Scissors: Fabric scissors for clean cuts.
-
Pins: To hold pieces in place during sewing.
-
Marking Tools: Fabric chalk or pens for tracing patterns.
-
Optional: Buttons, embroidery floss, or paint for details like eyes, mouth, or patterns.
3. Create a Pattern
Draw a pattern on paper for each part of the doll, such as the body, head, arms, and legs. Include seam allowances (about 0.5 cm) for stitching. Cut out the paper templates, then trace them onto your fabric. Ensure you have two pieces for symmetrical parts.
4. Cut and Assemble the Fabric
Cut the fabric along the traced lines. Pin matching pieces together with the outer sides facing inward. Sew around the edges, leaving small gaps to turn the fabric right-side out and stuff the pieces.
5. Turn and Stuff
Turn each sewn piece right-side out through the gaps. Use a tool like a chopstick to push out corners and details. Stuff each piece with fiberfill, being careful not to overfill, as this can distort the shape.
6. Assemble the Doll
Sew the stuffed pieces together. For example, attach the arms and legs to the body, then sew on the head. Use a ladder stitch (also known as an invisible stitch) to close the seams neatly and securely.
7. Add Facial Features and Details
Give your plush doll personality by adding eyes, a nose, and a mouth. Use embroidery, fabric markers, or sew-on features like buttons or felt. For hair, sew or glue yarn, felt, or fabric strips to the head.
If your doll wears clothing, create miniature outfits from fabric scraps and sew or glue them onto the doll.
8. Final Touches
Inspect your plush doll for any loose stitches or uneven stuffing. Adjust as needed and fluff the doll for a polished appearance. Add any final accessories, such as scarves, hats, or bows.
Conclusion
Making a plush doll is a rewarding project that combines creativity and craftsmanship. With a bit of time and effort, you can create a one-of-a-kind doll that’s perfect for gifting or cherishing as a keepsake. Whether simple or intricate, handmade plush dolls carry a unique charm that reflects your personal touch.
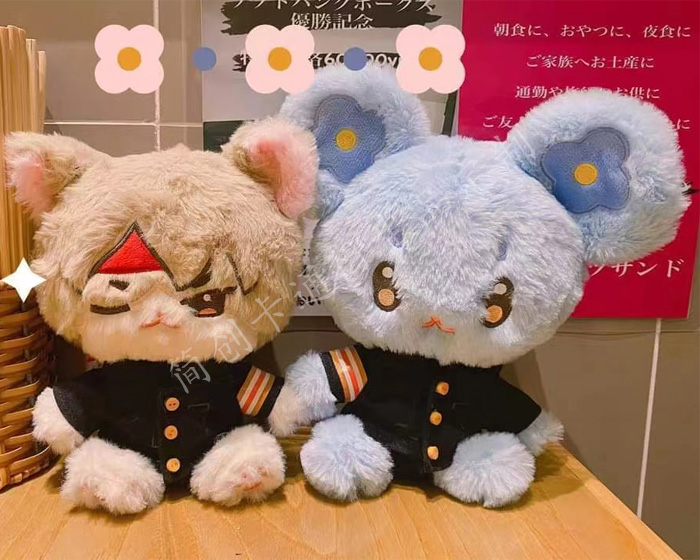
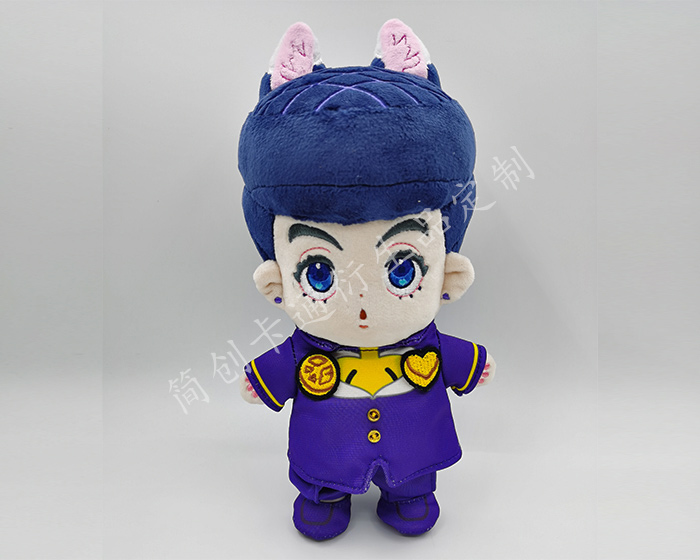
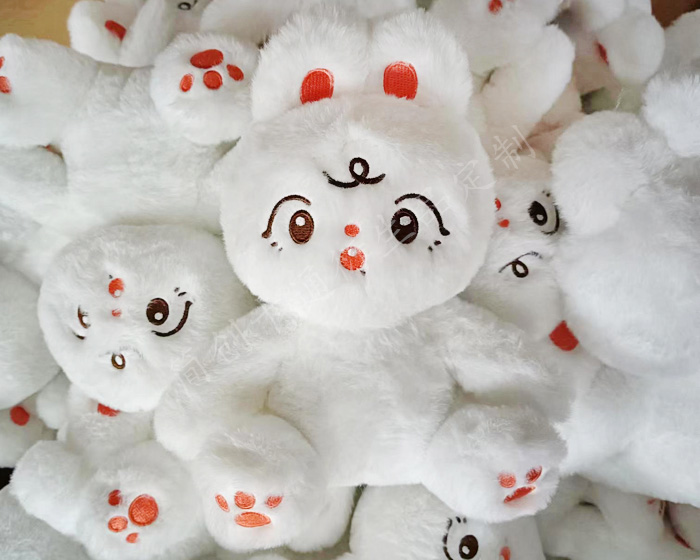
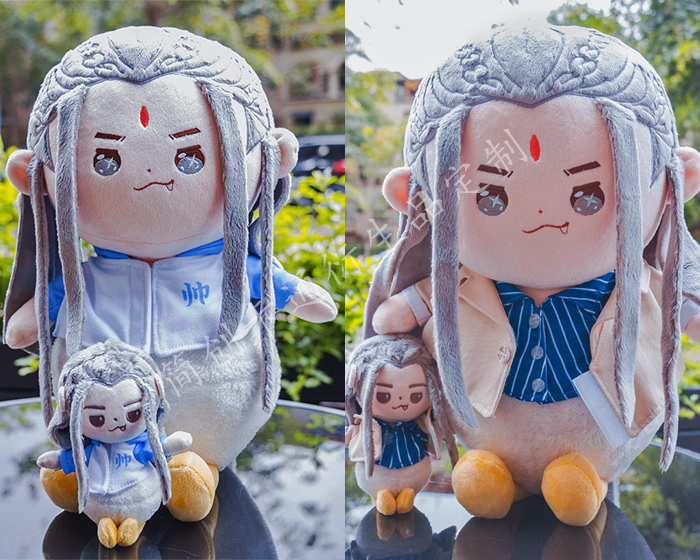
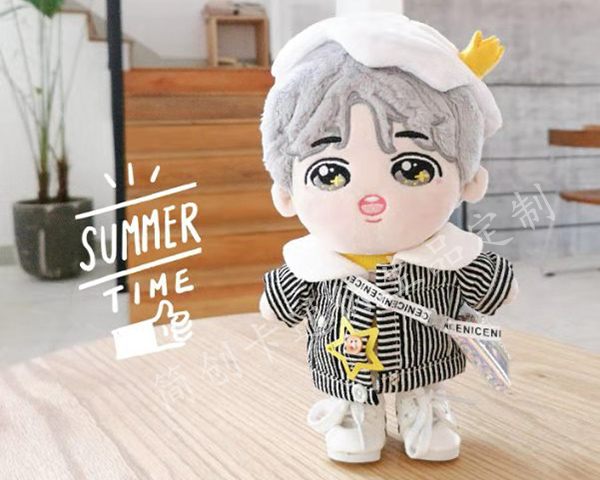
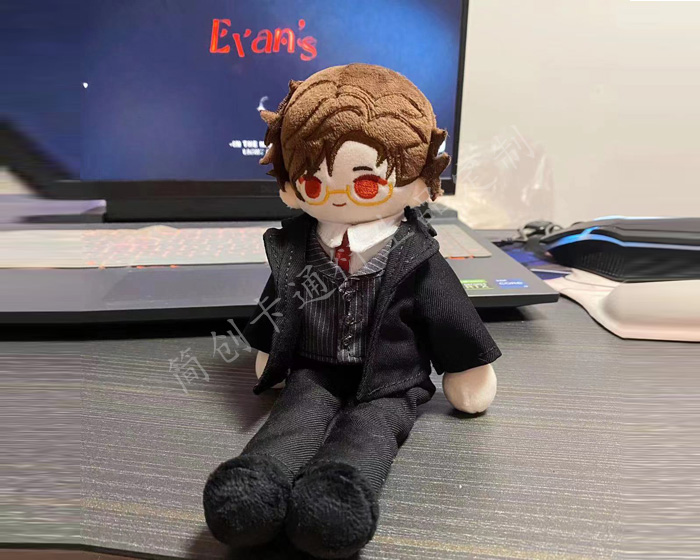
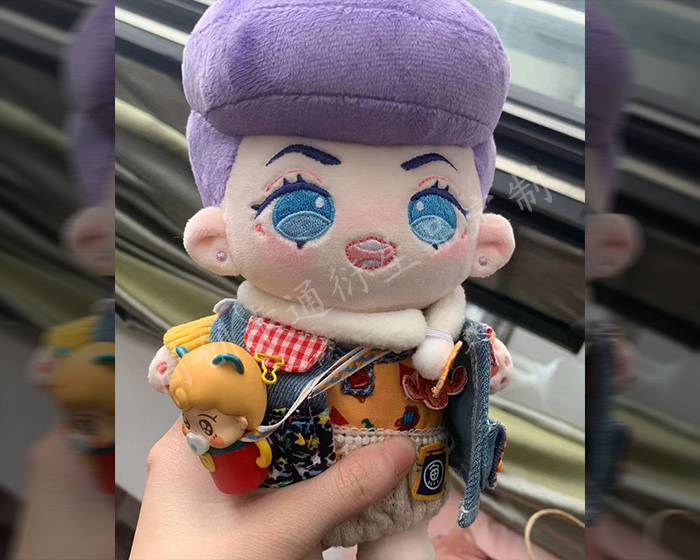
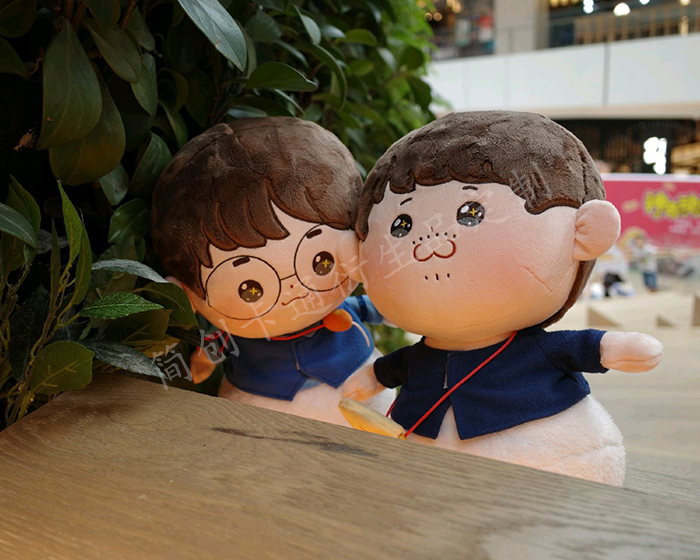
The following are some examples of plush toys that our factory customizes for customers. Check out if there is one that you like best.
-
Custom Animal Plush
-
Cute Plush Doll
-
Custom Stuffed Animals
-
Plush Toy
-
Plush Dolls
-
Custom Stuffed Dolls
-
Custom Plush Toy
-
Cotton Dolls
-

Weighted Plush Toys
-
Cute Stuffed Animals
-
Custom Pet Stuffed Animal
-
Warmies Stuffed Animals
-
Weighted Stuffed Animal
-
Soft Toys
-
Plush Stuffed Doll
-
Custom Stuffed Dolls
-
Plush Maker
-
Bear Stuffed Toy
-
Anime Plush
-
Custom Stuffed Animal
-
Anime Plush
-
Custom Plush Toy
-
Personalised Stuffed Animal
-
Plush Animal Toys
-
Custom Plush Makers
-
Custom Plushies
-
Toy Manufacturer
-
Rag Doll Making
-
Custom Toys
-
Dog Plush Toys
-
Custom Rag Doll
-
Stuffed Animals
-
Custom Plush
-
Custom Plush Dolls
-
20cm Cotton Doll
-
Jojo Plush
-
Custom Doll
-
Jojo Doll
-
Large Plush Toys
-
15cm Cotton Doll
-
Dumpling Plush
-
Cotton Doll
")