


Creating a stuffed animal is a rewarding craft project that allows for creativity and personalization. Whether you are making it as a gift, for personal use, or as a prototype for mass production, the process can be broken into clear, manageable steps. Here's a comprehensive guide to making your own stuffed animal.
1. Plan Your Design
The first step is to decide on the type of animal and its appearance. Sketch the design, considering the shape, size, and any distinctive features like ears, tails, or patterns. Decide on the materials you’ll use—soft fabrics like fleece, felt, or cotton are popular choices due to their durability and plush feel.
2. Gather Materials
Here’s what you’ll need:
-
Fabric: Choose your main material based on texture and color.
-
Stuffing: Use polyester fiberfill for softness or consider eco-friendly alternatives like cotton batting.
-
Thread and Needle: Match the thread color to your fabric for a seamless look.
-
Scissors: Sharp fabric scissors ensure clean cuts.
-
Pins and Clips: To hold pieces in place while sewing.
-
Optional: Decorative items such as buttons for eyes, embroidery floss for detailing, or fabric paint for patterns.
3. Create the Pattern
Draft a pattern on paper, breaking the design into basic shapes for the body, limbs, ears, and other features. Make sure to include seam allowances (usually 0.5 to 1 cm) around each piece. Cut out the patterns and trace them onto your fabric, ensuring you have two pieces for symmetrical parts like the body or ears.
4. Cut and Sew
Carefully cut the fabric along the traced lines. Pin corresponding pieces together with the outer sides facing inward. Sew along the edges, leaving a small gap for turning the fabric right-side out and inserting stuffing. Use a sewing machine for efficiency or hand-stitch with a backstitch for durability.
5. Turn and Stuff
Flip the sewn pieces right-side out through the gap. Use a tool like a chopstick to gently push out corners or small details. Stuff the animal with fiberfill, starting with smaller sections like limbs to ensure even distribution. Avoid overstuffing, as it can distort the shape.
6. Close the Gap
Once stuffed, sew the opening closed using a ladder stitch (also called an invisible stitch). This ensures a neat finish, blending seamlessly with the rest of the seams.
7. Add Features and Decorations
Attach eyes, noses, or other details using embroidery, fabric glue, or sewing. Buttons, beads, and felt pieces can add personality. For safety, avoid small detachable parts if the toy is for young children.
8. Final Touches
Inspect your stuffed animal for any loose threads or uneven stuffing. Adjust as needed and fluff the stuffing for a polished look. You can also personalize it further with accessories like scarves or hats.
Conclusion
Making a stuffed animal is a fun and creative activity that allows you to craft a one-of-a-kind item. With patience and attention to detail, you can transform simple materials into a cuddly companion that’s sure to bring joy. Whether for a child, a loved one, or yourself, a handmade stuffed animal carries a charm that no store-bought version can match.
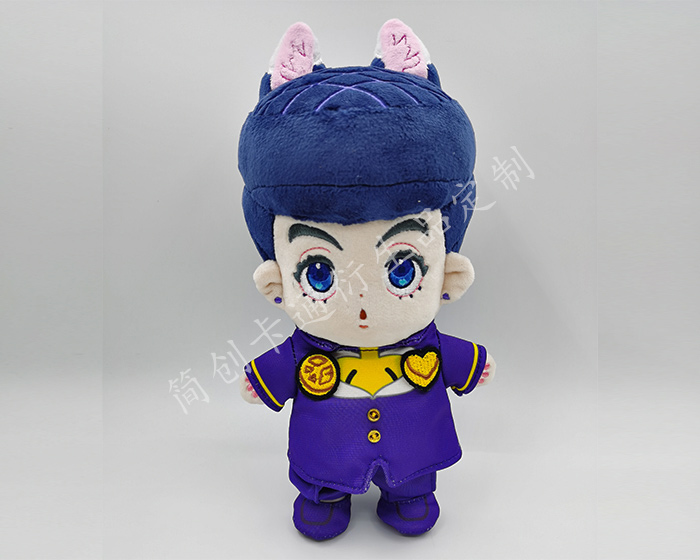
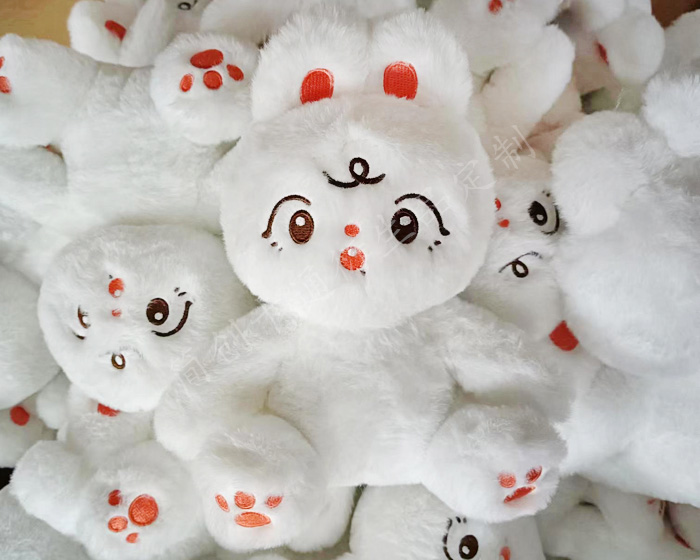
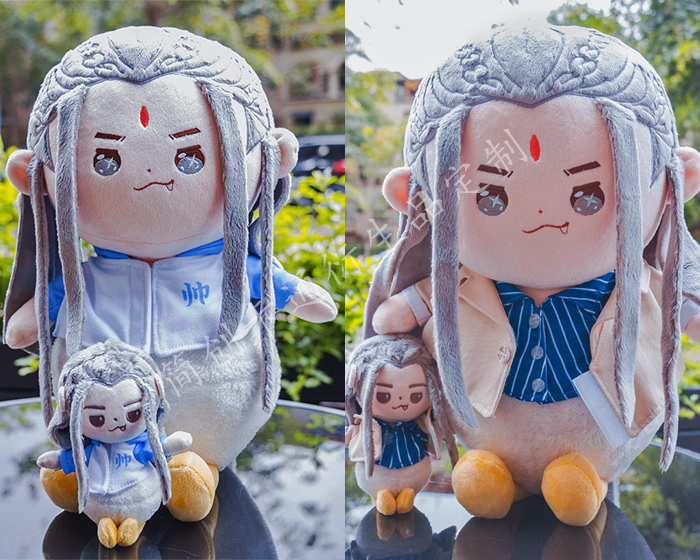
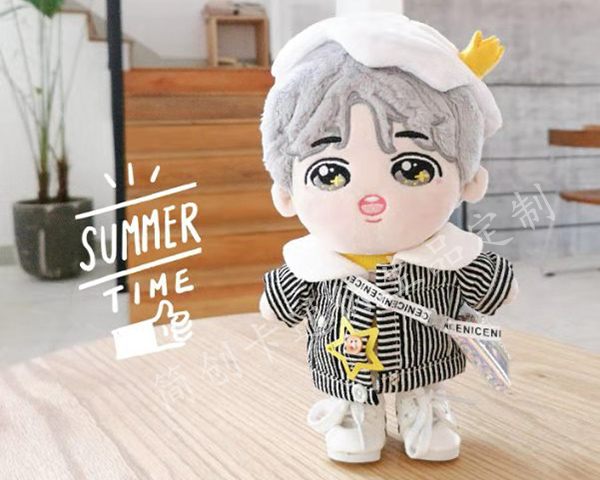
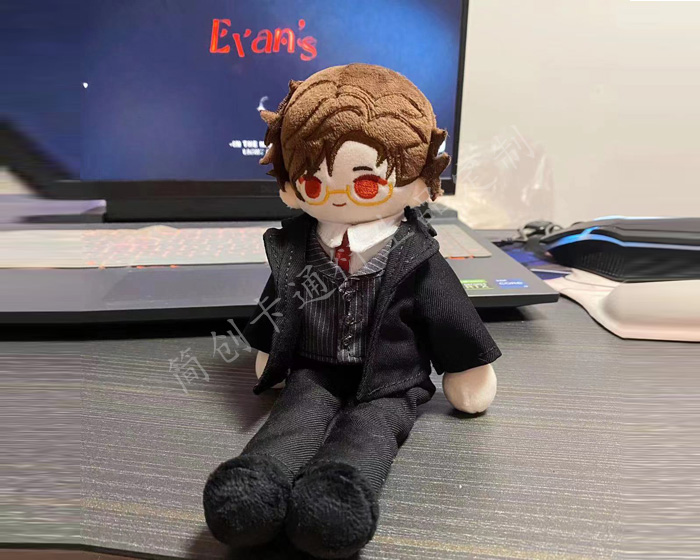
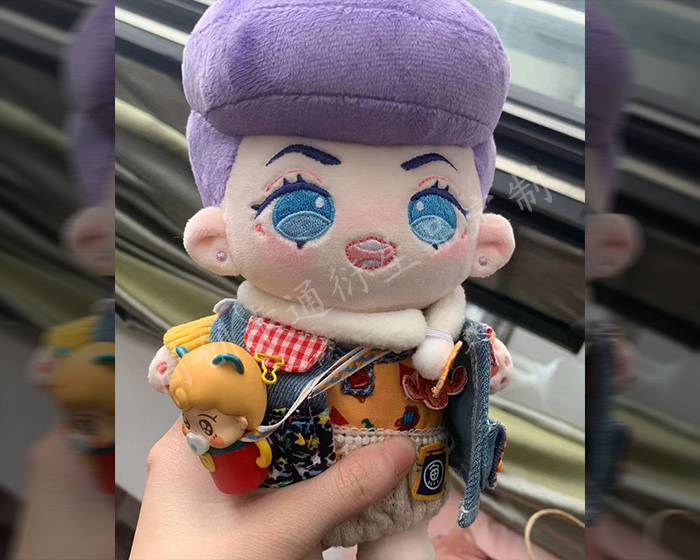
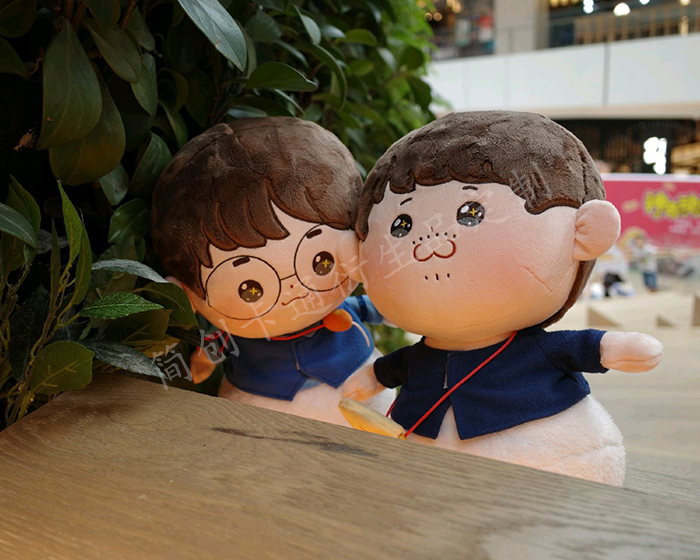
The following are some examples of plush toys that our factory customizes for customers. Check out if there is one that you like best.
-
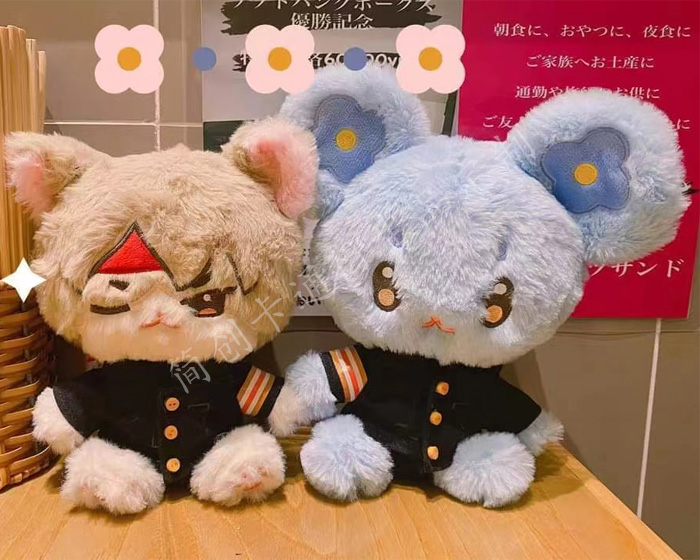
Custom Animal Plush
-
Cute Plush Doll
-
Custom Stuffed Animals
-
Plush Toy
-
Plush Dolls
-
Custom Stuffed Dolls
-
Custom Plush Toy
-
Cotton Dolls
-

Weighted Plush Toys
-
Cute Stuffed Animals
-
Custom Pet Stuffed Animal
-
Warmies Stuffed Animals
-
Weighted Stuffed Animal
-
Soft Toys
-
Plush Stuffed Doll
-
Custom Stuffed Dolls
-
Plush Maker
-
Bear Stuffed Toy
-
Anime Plush
-
Custom Stuffed Animal
-
Anime Plush
-
Custom Plush Toy
-
Personalised Stuffed Animal
-
Plush Animal Toys
-
Custom Plush Makers
-
Custom Plushies
-
Toy Manufacturer
-
Rag Doll Making
-
Custom Toys
-
Dog Plush Toys
-
Custom Rag Doll
-
Stuffed Animals
-
Custom Plush
-
Custom Plush Dolls
-
20cm Cotton Doll
-
Jojo Plush
-
Custom Doll
-
Jojo Doll
-
Large Plush Toys
-
15cm Cotton Doll
-
Dumpling Plush
-
Cotton Doll
")